via Public RSS-Feed of Frank Neulichedl. Created with the PIXELMECHANICS 'GPlusRSS-Webtool' at http://gplusrss.com https://plus.google.com/116114203998112257616/posts/6ysJTkJDN5v


Product Management
UX/UI & Interacion Design
Thoughts and Links

The new Google Play website has switched to Web-P Images for icons and other graphics - so you are likely to encounter this file fomrat more prominently. If you want to use it in Photoshop you need a plugin. I tried a couple of them and only one works fine with transparencies. You can download it for free on GitHub from Brendan Bolles. Get it here : https://github.com/fnordware/AdobeWebM
BTW: You don't put this plugin in the general plugin folder but in Adobe Photoshop CS6 (64 Bit)/Required/Plug-Ins/File Formats
I'm experimenting with Google App Engine PHP Beta to host Wordpress installs. As expected there are some hickups but they are trying hard to make it as easy as possible. With some great plugins etc. The next step for me is obviously to try to make a MultiSite install - and I succeeded. The main challenge is that you need a separate configuration for the local install and the remote one. Here are the steps for a succesful Wordpress Multi-Site install.
Note: This article is in flux and I will update it as soon as I find out more - so come back of follow me on Twitter @derFrankie or Google+ to get updated.
Prerequisites: Having a working wordpress install locally and on GAE following instructions https://developers.google.com/appengine/articles/wordpress
1. Enable Network Support
Edit wp-config.php and include
define('WP_ALLOW_MULTISITE', true);
above /* That's all, stop editing! Happy blogging. */
2. Deploy your install to GAE 3. Create a local network
4. Create a network on GAE
* Login to your Wordpress Dashboard on Google App Engine and disable all plugins * Then go to /Tools/Network and create a Network * Choose Folders as install method * Go to the next step
5. Edit Configuration to work locally and on GAE Open your local wp-config.php and enter the following lines above /* That's all, stop editing! Happy blogging. */
Don't forget to insert YOUR_PROJECT_ID
if(isset($_SERVER['SERVER_SOFTWARE']) && strpos($_SERVER['SERVER_SOFTWARE'],'Google App Engine') !== false) {
define('MULTISITE', true);
define('SUBDOMAIN_INSTALL', false);
define('DOMAIN_CURRENT_SITE', 'wp-dot-YOUR_PROJECT_ID.appspot.com');
define('PATH_CURRENT_SITE', '/');
define('SITE_ID_CURRENT_SITE', 1);
define('BLOG_ID_CURRENT_SITE', 1);
}else{
define('MULTISITE', true);
define('SUBDOMAIN_INSTALL', false);
define('DOMAIN_CURRENT_SITE', 'localhost');
define('PATH_CURRENT_SITE', '/');
define('SITE_ID_CURRENT_SITE', 1);
define('BLOG_ID_CURRENT_SITE', 1);
}
5. Deploy to GAE
You can now login to both installs and re-enable the plugins if you like and create sites etc. But the sites won't work completely as yet-
Now we want to add additional sites and therefore we need a couple of additional settings.
1. Add some handlers to app.yaml
You need to add these handlers above the other ones
- url: /wp-admin/network/(.+)
script: wordpress/wp-admin/network/\1
secure: always
- url: /wp-admin/network/
  script: wordpress/wp-admin/network/index.php
  secure: always
- url: /([_0-9a-zA-Z-]+/)?(wp-(content|admin|includes).*\.(htm.*$|html.*$|css.*$|js.*$|ico.*$|jpg.*$|png.*$|gif.*$))
static_files: wordpress/\2
upload: wordpress/([_0-9a-zA-Z-]+/)?(wp-(content|admin|includes).*\.(htm.*$|html.*$|css.*$|js.*$|ico.*$|jpg.*$|png.*$|gif.*$))
application_readable: true
2. Add additional handlers for every site you add
- url: /YOURFOLDER/wp-admin/(.+)
script: wordpress/wp-admin/\1
secure: always
- url: /YOURFOLDER/wp-admin/
  script: wordpress/wp-admin/index.php
  secure: always
3. Ignore local wp-content/uploads
I use the local installation to test out the whole system - so I have local assets uploaded that don't need to get deployed. To ignore those files add these lines at the end of app.yaml
skip_files:
- wordpress/wp-content/uploads/.*
UPDATE July 9th.: Added url handlers to gain access to the admin section for sub-sites UPDATE July 10th: Fixed access to Admin Pages - works now normally
A great lesson in adding value - not just featuresI'm a almost fanatic Evernote user. Since I decided that all my notes are going into one place - and one place only - I actually find stuff.Apart from that I can only highly recommend a companion app from Evernote - Evernote Food.I'm a foodie and I love talking about my meals with friends and my partner. With this I can also show them the meals. I can take pictures, add a place and go back later to get inspired or just to remember things like: Where did we go to eat on our last anniversary.The new Version adds even more layers like recipe exploration and the automated recipe collection from your Evernote Account. Exactly - you don't have to go through your library and tag the old notes - they find out for you. What a great function. Isn't that great - and by the way - you don't have to go Premium to use this companion apps like other services do.So go ahead and start collecting great food. #app #evernote #functionality Link: http://blog.evernote.com/2013/04/29/evernote-food-2-0-for-android-is-here/
Fonts always have an implied use case ... as designers we should honor that and use fonts that help the messge of our design. So, use this font to add some coolness.
via Public RSS-Feed of Frank Neulichedl. Created with the PIXELMECHANICS 'GPlusRSS-Webtool' at http://gplusrss.com https://plus.google.com/116114203998112257616/posts/1CBNqoJN4Ve
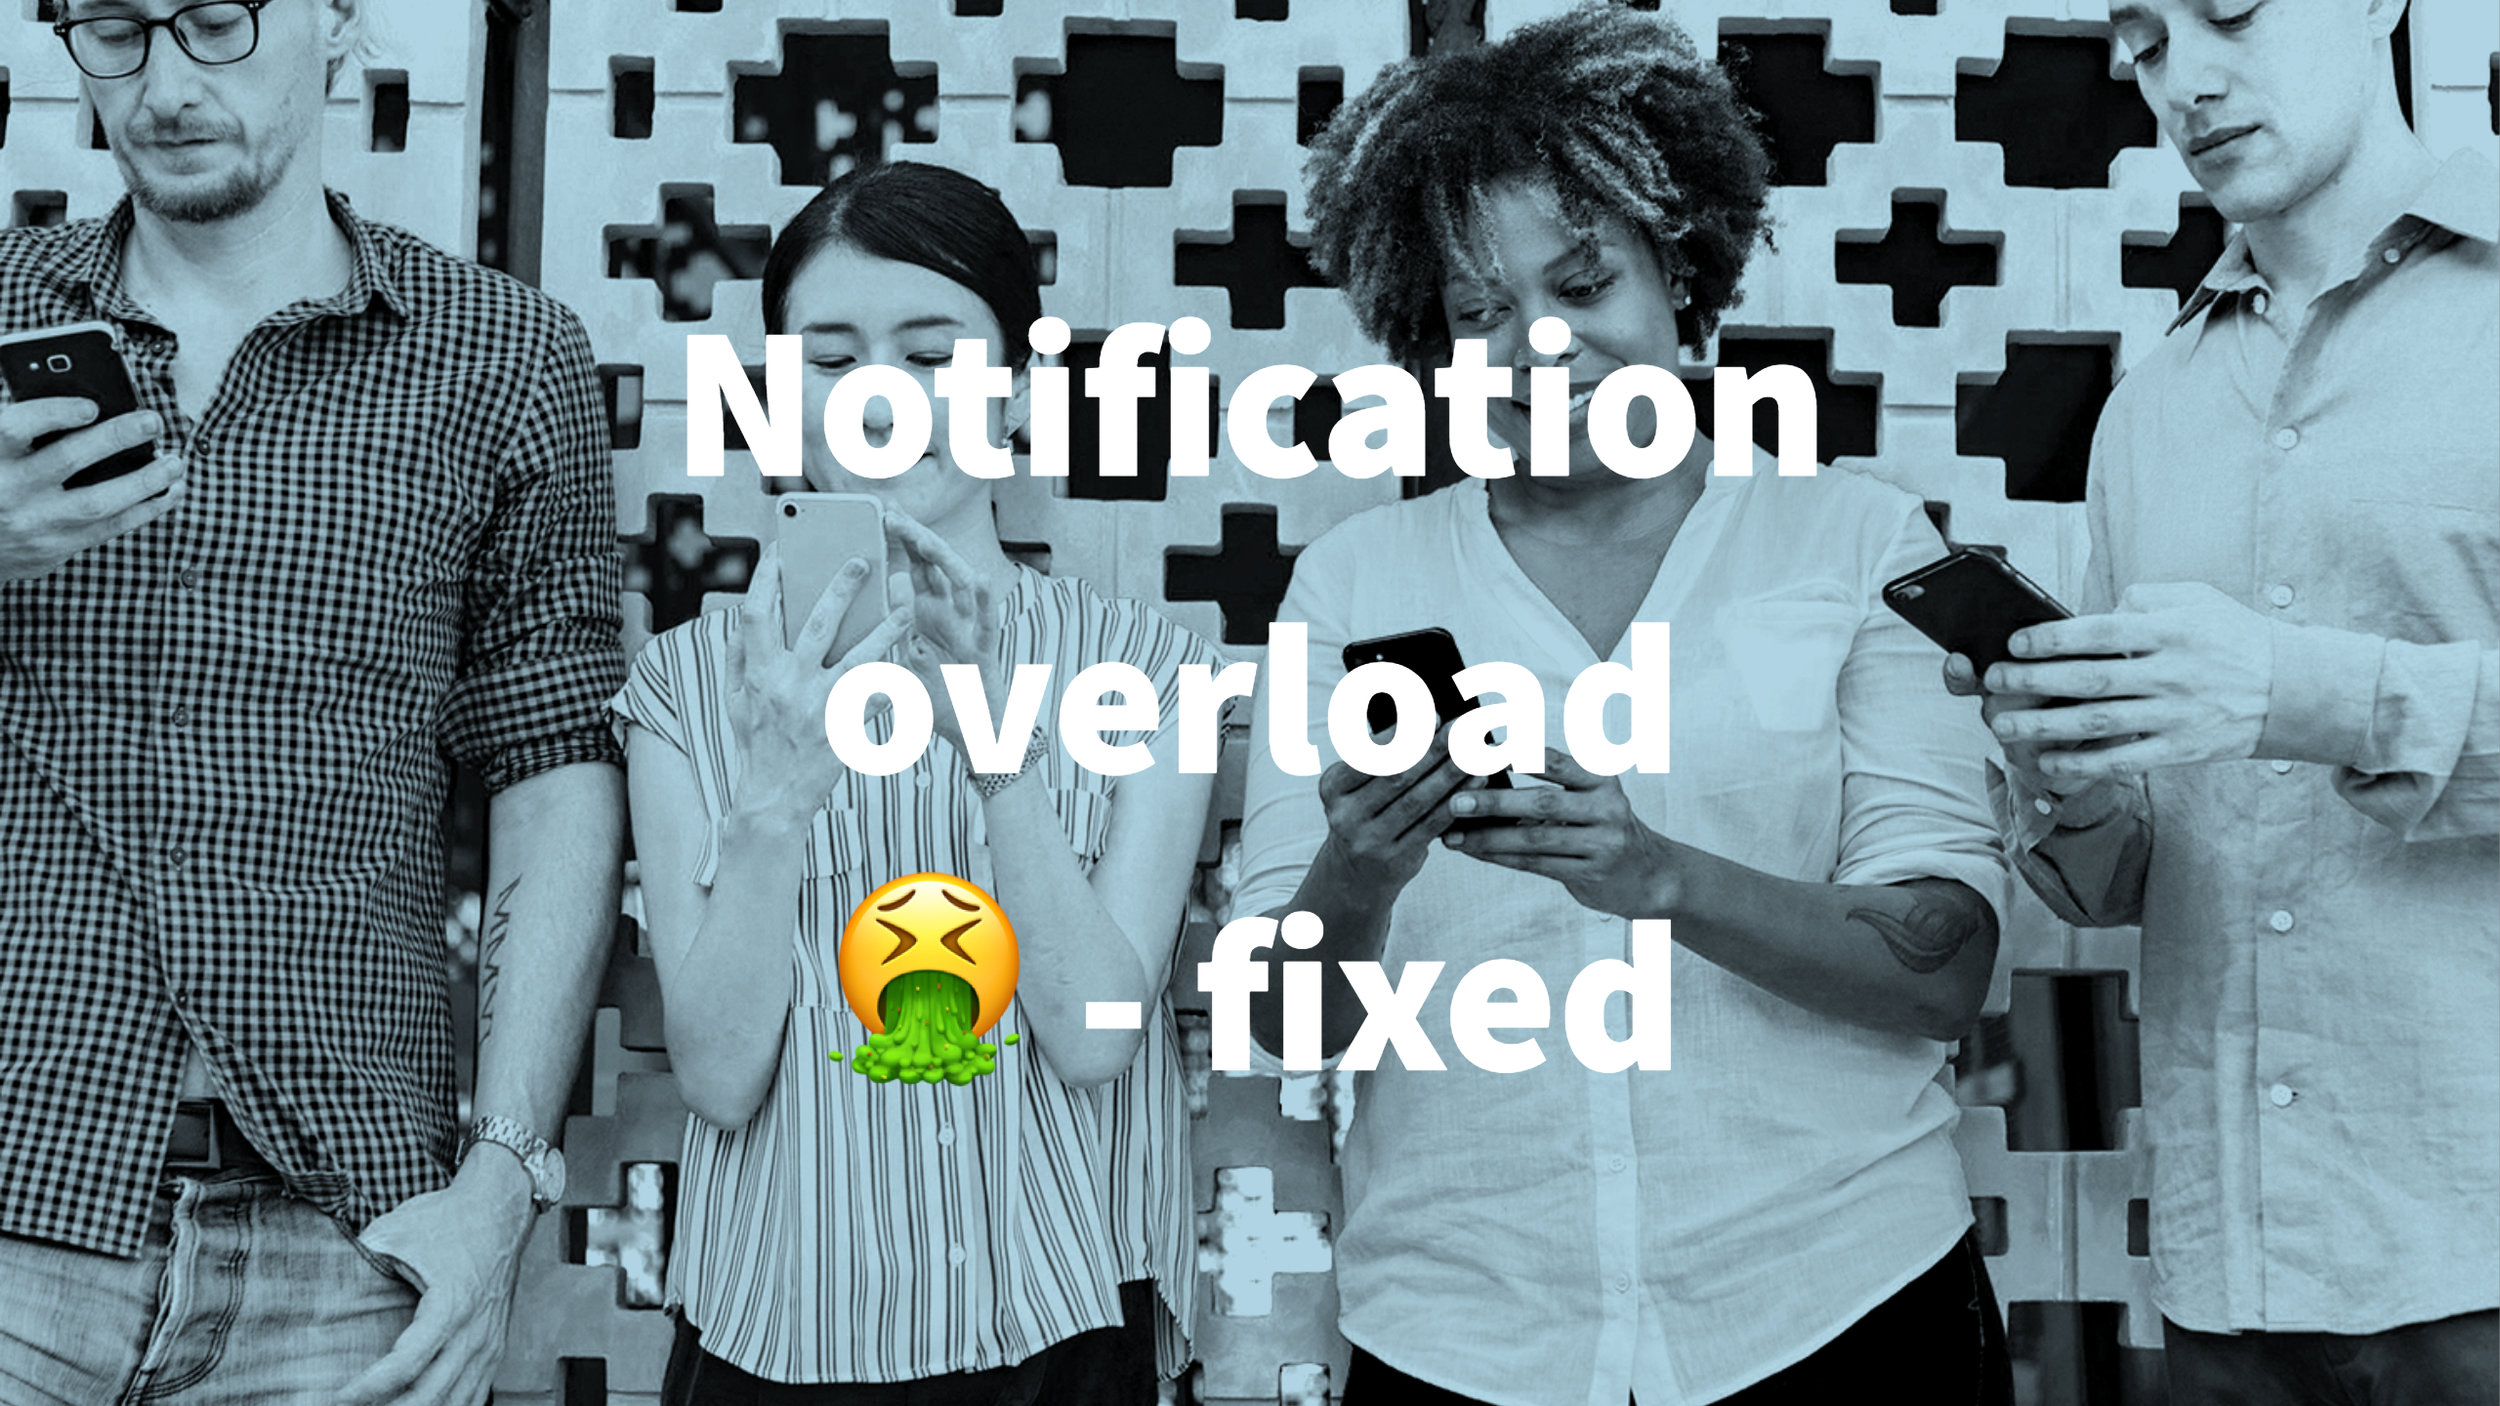
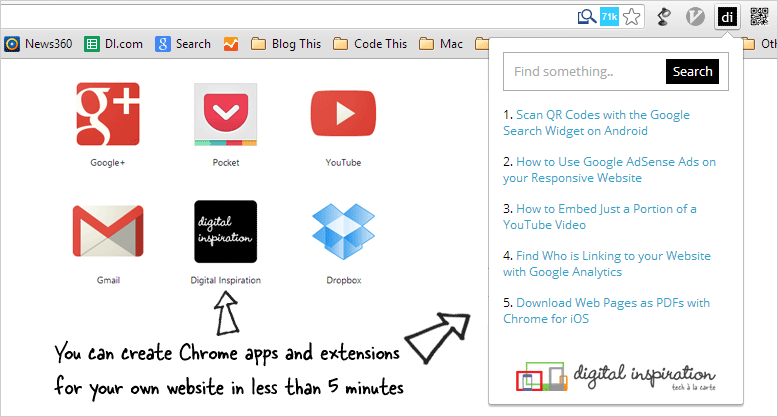
Google thinks that Google+ will be the new way to follow updates from websites ... which it isn't since there is no easy way to push your content to a Google+ Page. Anyway - if a user has installed the Google+ Notification Chrome extension he will have the posibility to add the Google+ Page of a linked website directly while visiting. It's sounds complicated but should actually make it easier for users.
I enabled it but couldn't yet see any difference ... but maybe this will solve some of the "subscription issues" that many blogs have since the demise of RSS.